Wednesday, 8 May 2013

Review: Dainese Axial Pro In Boots

It is about time I got myself a new set of gear for the track. Following my highside last year, I've either sold away undamaged gear or threw away damaged ones. No more entry level stuff this time, it's time for the premium goodies. And by premium I mean Dainese.

Dollar for dollar, you would be able to get better gear from Alpinestars. But after owning the Dainese Air-Frame Jacket and the Dainese Scalpel Gloves, I've come to realise that there is more than just bang for the buck when it comes to riding gear. Dainese offers excellent workmanship, fashionable design, together with functionality and protection. Don't get me wrong, Alpinestars makes excellent riding gear too, I'm just more of Dainese fan now.

I got myself a set of Dainese gloves, boots, race suit, and back protector. The reviews will come in as I write and publish them, so stay tuned for the next few days. In this post, I review the Dainese race boots.

The Boots
I got myself the Dainese Axial Pro In boots, the highest end race boots in the Dainese 2013 catalogue. The Axial Pro In is just a magnificent pair of boots to own, it is what Valentino Rossi is wearing in MotoGP right now.


The "In" in the name means that the boots are to be worn inside the race suit, underneath the calf area. Only certain Dainese race suits allow this feature. There are male velcro panels on the front and outside of the boots that would attach to the female velcro panels on the inside of the race suit's calf area.

Watch this video from SportbikeTrackGear to have a clearer picture of how the Dainese In boots work.


In case you haven't heard, Dainese no longer manufactures (most of) their products in Italy anymore, due to rising costs. The one thing that they still produce in Italy are their boots, so you can be sure that the quality is there.


I don't usually upload photos of the soles of shoes or boots but the underside of the Axial Pro In is just such a beauty to look at.


Fit & Protection
The boots come with so much protection that I don't know where to begin. I'll just touch on the more important ones. The Axial Pro In has replaceable stainless steel toe sliders, which just look intimidating. Just by looking at the boots, you would immediately feel safe and assured that it would do its job.

Also, notice the beautifully styled shifter pad.


And a stainless steel heel. Together with the toe slider, these 2 stainless steel parts ensure that you slide on the tarmac, instead of catching on and sending you into a tumble.


The Axial Pro In has an inner boot that is reinforced by carbon-kevlar. This answers your question as to why a Dainese In boot can match the protection of a Dainese Out boot. The carbon-kevlar is covered by a foam padding (the black part with the 2 elastic straps in the picture below) to give extra comfort.

In the event of a crash, the structure of the ankle protection prevents your ankles from distorting, thus preventing dislocation or a fracture.


Wearing the Axial Pro In is a very simple affair. Once you have your foot in the inner boot, all you have to do is to pull the 2 elastic bands, and attach them (by velcro) to the back of the inner boot. Next, roll up the outer sleeve, zip up and you're set.

The Dainese style prevails once again with this see-through panel that reveals the carbon-kevlar material in the ankle area.


I usually wear a size US 10.5. On the Axial Pro, I wear a size UK 43, that actually converts to a US size 10. But the fit is still good, and my feet don't feel cramped in any way. In fact, there is still a bit of space between my toes and the tip of the boot.

The fit is very snug, but gives a good range of motion in the ankles. It is much more comfortable to walk in the Axial Pro In than traditional bulky race boots.

Price
I got the Dainese Axial Pro In from JR at SGD$630. After converting the currency, it is very close to the retail price of USD$499.95 at Dainese's official website, even before factoring in import taxes. Small price to pay for the same pair of boots that Valentino Rossi is wearing at the highest level of motorcycle racing.

Watch a video review of the Dainese Axial Pro In boots by RevZilla here.


Verdict
The Dainese Axial Pro In (or Out) boots should be on the top of your consideration list if you're looking for the best pair of race boots out there. The only gripe I have is the heavy price tag, but if the price is not the deciding factor, then without a doubt, get the Axial Pro.

RB Rating: 10 / 10

Review of the Dainese glove next!

Ride safe.

Monday, 6 May 2013

X-Rays from 17 December 2012 Highside

I recently managed to grab hold of some of the soft copies of the x-rays taken after the crash. In case you have no idea what happened, check out my previous post. I broke the radial head of my right arm into 3 pieces, had my right elbow dislocated, and suffered an open wound on the inside of my right forearm.

Unfortunately, I do not have the x-rays taken at the Johor hospital where I could still lift my upper arm, and swing my forearm left to right like the loose minute hand of a damaged clock. Yes, it was still dislocated when I took the x-rays at the Johor hospital. The doctors there gave me 2 shots of morphine, I fell asleep, then woke up to 2 male nurses tugging and pushing on my injured arm trying to relocate the elbow. Man, that was 5 seconds of consciousness in hell, I passed out after that. About 2 hours later, I woke up to a relocated elbow, and saw that my open wound was cleaned and stitched up. I haven't had a chance to say thank you to the hospital staff in Johor, so here it is, thank you!

But it wasn't over. I still had bone fragments floating about in my elbow. Honestly, I very much preferred to be warded, and have my surgery done in a Singapore hospital. And that is exactly what I did. I arrived at the Singapore General Hospital (SGH) Accident & Emergency Department in the evening, with the help of Eric and Yi Yang.

Here's what the doctors at the SGH saw. Notice the area circled in red, that is the biggest chunk of bone that was broken off the head of my radius bone. I'm not sure where the other 2 bone fragments went to. According to my doctors after viewing my CT scan results, one of the bone fragments went up into my triceps. But the x-rays were not able to capture that.


Top down view. Notice the same big bone fragment on the left. The 'object' on the right was actually the x-ray picking up the open wound.


I had my surgery 2 days later, on 19 December. Luckily the surgeon was able to save 2 of the bigger bone fragments, and fixate them onto the radial head with 2 titanium screws. The third piece which was too small to be saved was discarded. This next x-ray was taken 4 weeks after the surgery.


From another angle. You can tell that the bone is still not smooth at the edges yet. The radial head typically takes about 6-8 weeks to mend, the second phase where the body reshapes the edges of the bone to smoothen it can take anywhere from 6 to 60 months.


During my second medical review at SGH, I complained to the doctor that I was experiencing some pain in my right hand. So I was ordered to take some x-rays...

Great, I had 2 more fractures to worry about. The broken bone captured in the x-ray below is called the scaphoid. It is notorious for the low blood supply to its area, thus requiring very long healing time (up to years!). And in some cases if the bone doesn't mend, the broken bone fragment can die off, in a medical condition known as Avascular Necrosis. Awesome news.


And the doctor diagnosed me with a fracture of the base of the fifth metacarpal bone. Or in laymen's terms, a fracture at the base of my pinky bone. I can't figure out where the fracture is, but it's there because it hurt when I pressed on it.


What could be worst after discovering this news? Well... There was nothing the doctors could do. I was told to let the fractures heal with time, hopefully. I really hoped that the scaphoid bone fragment wouldn't die, that would be disastrous and not bode well for my future.

About 16 weeks later, I went to a private clinic in Gleneagles Hospital, and took a few more x-rays. The radial head looked much more smoother, and the scaphoid was healing well. Phew! Sadly, I only have physical copies of those x-rays, so I can't show them here. Use your imagination.

The injury has been a humbling experience. It is now about 20 weeks after the crash, and after torturing rehabilitation exercises everyday, adjusting my diet to include more calcium, I am happy to say that I've regained about 90% of the use of my right arm. 90% because the arm is still not as strong as before, and I am still lacking about 5 degrees hyperextension. The next 10% will take years to regain though...

But I'm happy, the hard work paid off. Signing off with my titanium-calcium right elbow, ride safe. :)

Sunday, 21 April 2013

Review: GBRacing Engine Cover Set

When was the last time you crashed? Not too recently I hope. The worst thing about crashing is not the crash, but actually the aftermath. Physical injuries aside, the best scenario would be one where you are still able to ride your motorcycle home or to the workshop. The worst scenario? Well, one where your motorcycle starts leaking fluids.

Like this R6.


To prevent this from happening to you, take a look at the few engine case protections out there in the market. I got myself a set of GBRacing engine covers. Why GBRacing? The reason is ridiculously simple. Because the Fédération Internationale de Motocyclisme (better known as the FIM) approves them. The FIM governs many motorcycle racing events such as MotoGP and the SBK. Enough said.

Well actually, I have more to say. If you're a track go-er, please, for the love of whatever higher being you pray to, install engine covers! If you crash on the track, and your engine fluids leaks onto the tarmac, trust me, nobody is going to want to be your friend.

A full set of engine covers from GBRacing costs only about SGD$320, and they come included with the bolts you would require. Installation is simple. Remove the required stock bolts from your engine case, install the GBRacing cover over it, and screw it tight with the supplied bolts.

Protection doesn't only have to be functional. It can be beautiful too.

On the stator case (left side of bike).


On the clutch case (right side of bike).


On the timing case (right side of bike).


Full set of GBRacing engine covers on the right side of the bike.


Stop procrastinating and get yourself some engine case protection. You never know when is your next date with the tarmac. Spare a thought for other road or track users behind you, and prevent more accidents. Install engine case protection!

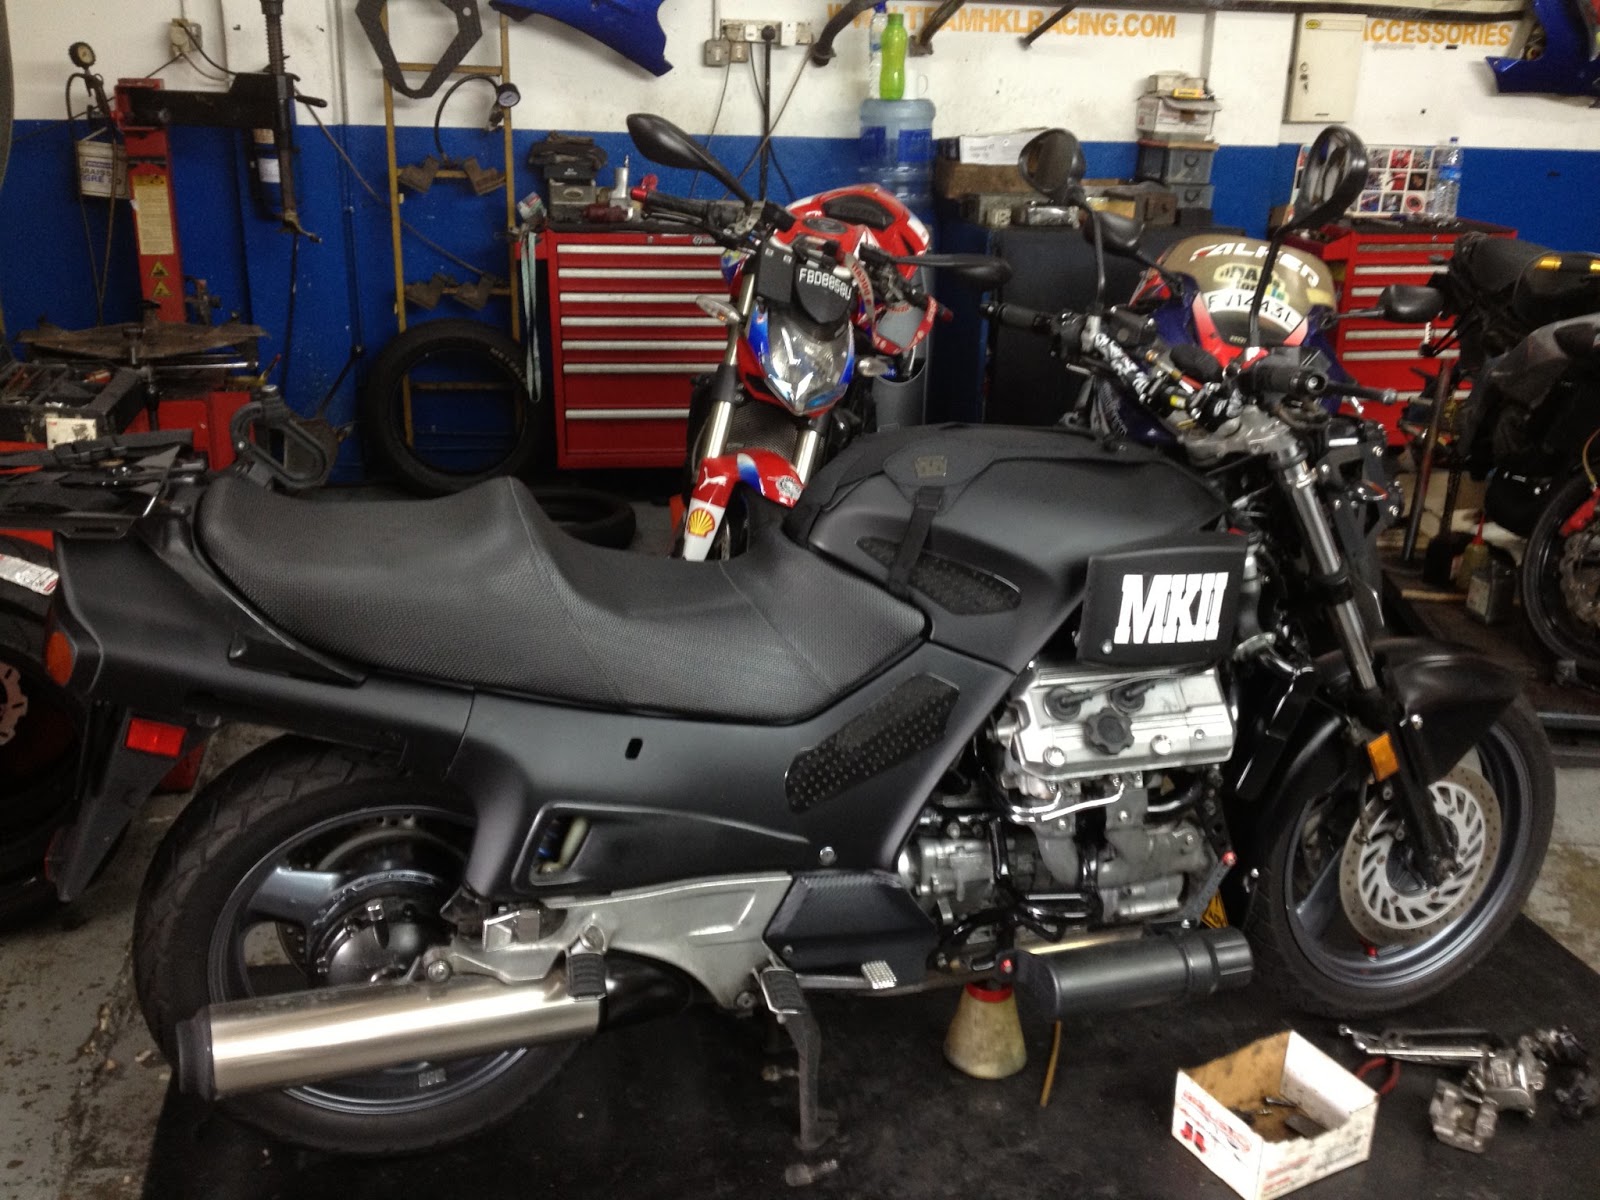
Oh and by the way, does anyone have a clue what this monstrous looking thing is?


I know the answer, but take a guess. The clue, it's a popular touring motorcycle.

Enjoy your weekend and ride safe.

Sunday, 14 April 2013

Review: HealTech GIpro X-type Gear Position Indicator

I personally feel that the Yamaha R6 needs an update soon. It is about time they included an anti-lock braking system (ABS), traction control, and a gear position indicator into the R6 package. Fortunately, there are some aftermarket components out there that we can install to improve the R6.

The HealTech GIpro X-type Gear Position Indicator is probably one of the most popular gear position indicators out there. Mainly because of its simple installation steps; no splicing of wires, just an easy plug and play device.

The connector on the GIpro attaches to your bike's speed sensor. And that is usually found underneath the rider's seat. The GIpro may be easy to install, but there is a catch. If you want to do a clean and neat job, you would need to hide the cable under your fuel tank, and lay it up to your dash where you would place the GIpro display unit.

This is how much the HKL mechanic had to remove.


If you notice the cable running down the outside of the bike, that's the GIpro cable. Just one cable, from connector to the display unit.


I'm a total dimwit when it comes to motorcycle electronics, so I leave it to the experts for installation. If you are feeling brave, you can try following the instructions included.

Installation took about 30 minutes, and programming the GIpro took another 15 minutes. And viola, aftermarket gear position indicator installed.


Do note that because the gear position indicator relies on your speed sensor to tell which gear you are in, it would just display a "-" when your motorcycle is stationary. Through my personal experience, I find that it determines the gear you are in pretty fast, almost instantly.

Here's a video of the GIpro X-type in action.


The price? Well, it's not exactly cheap at SGD$250. But trust me, it's worth it to know that you won't be finding the elusive 7th gear again.

Bonus: I saw this magnificent looking full carbon fiber bodied BMW S1000RR.


Ride safe.

Thursday, 4 April 2013

Riders for Life #1

We have just published the first video in the "Riders for Life" series!

Catch the video on YouTube.


Ride safe!