Sunday, 27 January 2013

Review: Spy 2 Way Motorcycle Alarm

It has been a while since I last wrote, since that bone shattering crash. I am recovering well, rehabilitation is a painful experience, but seeing my progress, I would be back on the saddle really soon.

The week before my crash, my slip-on got stolen, and I went to get a new Akrapovic slip-on at HKL. At the same time, I also installed a motorcycle alarm. I was offered the Spy 2 Way Motorcycle Alarm.


The alarm system comes with 2 remotes, a speaker and a vibration sensor.


With the remote, you can arm and disarm the system. And if you wire it correctly, you can even remotely start your motorcycle. I asked the HKL mechanic not to wire it to remote start, and I was quite sure with the R6's immobilizer, it was not going to be just simply wiring it correctly.


The red round cylinder is the speaker and I put it in my passenger seat compartment. Initially I had the vibration sensor, the grey box looking thing, in the same compartment but after much testing, it was too far from the centre of the bike, and therefore it did not perform well. We finally shifted the sensor to under the rider seat, and set it to a very sensitive setting. So sensitive, that when we were talking beside my bike, the alarm started going off haha.

The remote vibrates and rings if your alarm goes off, but only if there are not too many obstacles in the way. I tried it at a distance of about 100 metres away and the signal was still strong, and of course there were no tall buildings blocking the signal.

All in all, it's not the best motorcycle alarm out there, but it's a good trade-off between function and affordability. It was slightly more than SGD$100, and that is a small price for deterrence.

If you're looking for an affordable motorcycle alarm, have a look at the Spy 2 Way Motorcycle Alarm.

Ride safe.

Sunday, 6 January 2013

Track Highside

If you have been following the Facebook Page, you would know that I highsided at the track just before Christmas last year. The crash left me with a broken right radial head which needed 2 screws to hold the broken pieces together. The radial head is a complicated bone because it not only allows you to bend and extend your elbow, it also facilitates the rotation of your forearm. I had the surgery 2 days after the crash, and I just took the cast off last week. Needless to say, I have a long way to recovery.

So how did I crash? I can only blame it on a bad decision. I was about to enter turn one at Johor Circuit when the bike caught a false neutral. Instead of rolling to the gravel, I decided to take a wider line into the turn. HUGE mistake. The bike engaged into second gear mid-turn, throwing me over the handlebars. The proper thing to do was to either upshift or clutch in and coast to the gravel.

I've been on medical leave ever since the crash, and I am typing all these using only my left hand. I still can't rotate my injured arm far enough to hold a mouse or type on the keyboard. In my spare time, I made this video, entirely using my left arm. FYI, my left arm is my non-dominant arm.


Learn from my mistake. I don't know how long it will take before I can ride again, but I'll be back!

Ride safe.

Saturday, 15 December 2012

Review: Akrapovic Conical Slip-On (Titanium)

So, for those of you who know me, you would know that my Akrapovic slip-on was stolen recently. I sincerely hope that the thief dies a horrible death. These may be harsh words. But trust me, if one day, after a long tiring day at work, you walk to your motorcycle. Bearing high hopes that the ride home will bring a smile to your face, but only to find your muffler stolen, the words that form in your mind won't be polite at all heh.

Well that's that.

Now to the focus of this post. I installed the original muffler onto my bike, never realized that it sounded so lame. The exhaust note was just not pleasing at all. So, immediately the next day, I dropped by HKL to get a new Akrapovic slip-on. I am officially an Akrapovic fan. I asked for the same slip-on that I lost, but the mechanic recommended me this; the Akrapovic Conical Slip-On (Titanium).

Akrapovic Conical Slip-On (Titanium)

The mechanic said that this was a newer model and the power delivery is better because of the conical shape. You can see more details at Akrapovic's official website.

I had to wait for a few hours before the courier could deliver the slip-on to the workshop. In the meantime, I installed a motorcycle alarm. I'll talk about the alarm in my next post.

Finally, the courier arrived.

Akrapovic Exhaust Packaging Box

(Please forgive me for the quality of these photos. They were taken with my iPhone.)

The slip-on.

Akrapovic Conical Slip-On (Titanium)

The muffler clamp and a bottle of liquid sealant for the screws.

Akrapovic Muffler Clamp and Liquid Sealant

The installation was very fast, it probably took less than 5 minutes.

Akrapovic Conical Slip-On (Titanium)

It sounds pretty much the same as my previous exhaust, but hey, you can tell it's the sound of an Akrapovic. That's good enough for me haha.

The slip-on was priced at SGD$1270. If I remember correctly, that was around the same price I paid for my previous one. No complaints from me.

I suppose the key takeaways from this story are:
1. Akrapovic rocks
2. Install a motorcycle alarm

The next few days are going to be pretty exciting because I'll be publishing a couple of new posts, and also launch the Riding Bible YouTube Channel by uploading some street and track riding videos. But, you can of course subscribe first.

Thank you for the support so far. Ride safe!

Friday, 23 November 2012

Your First Knee Down

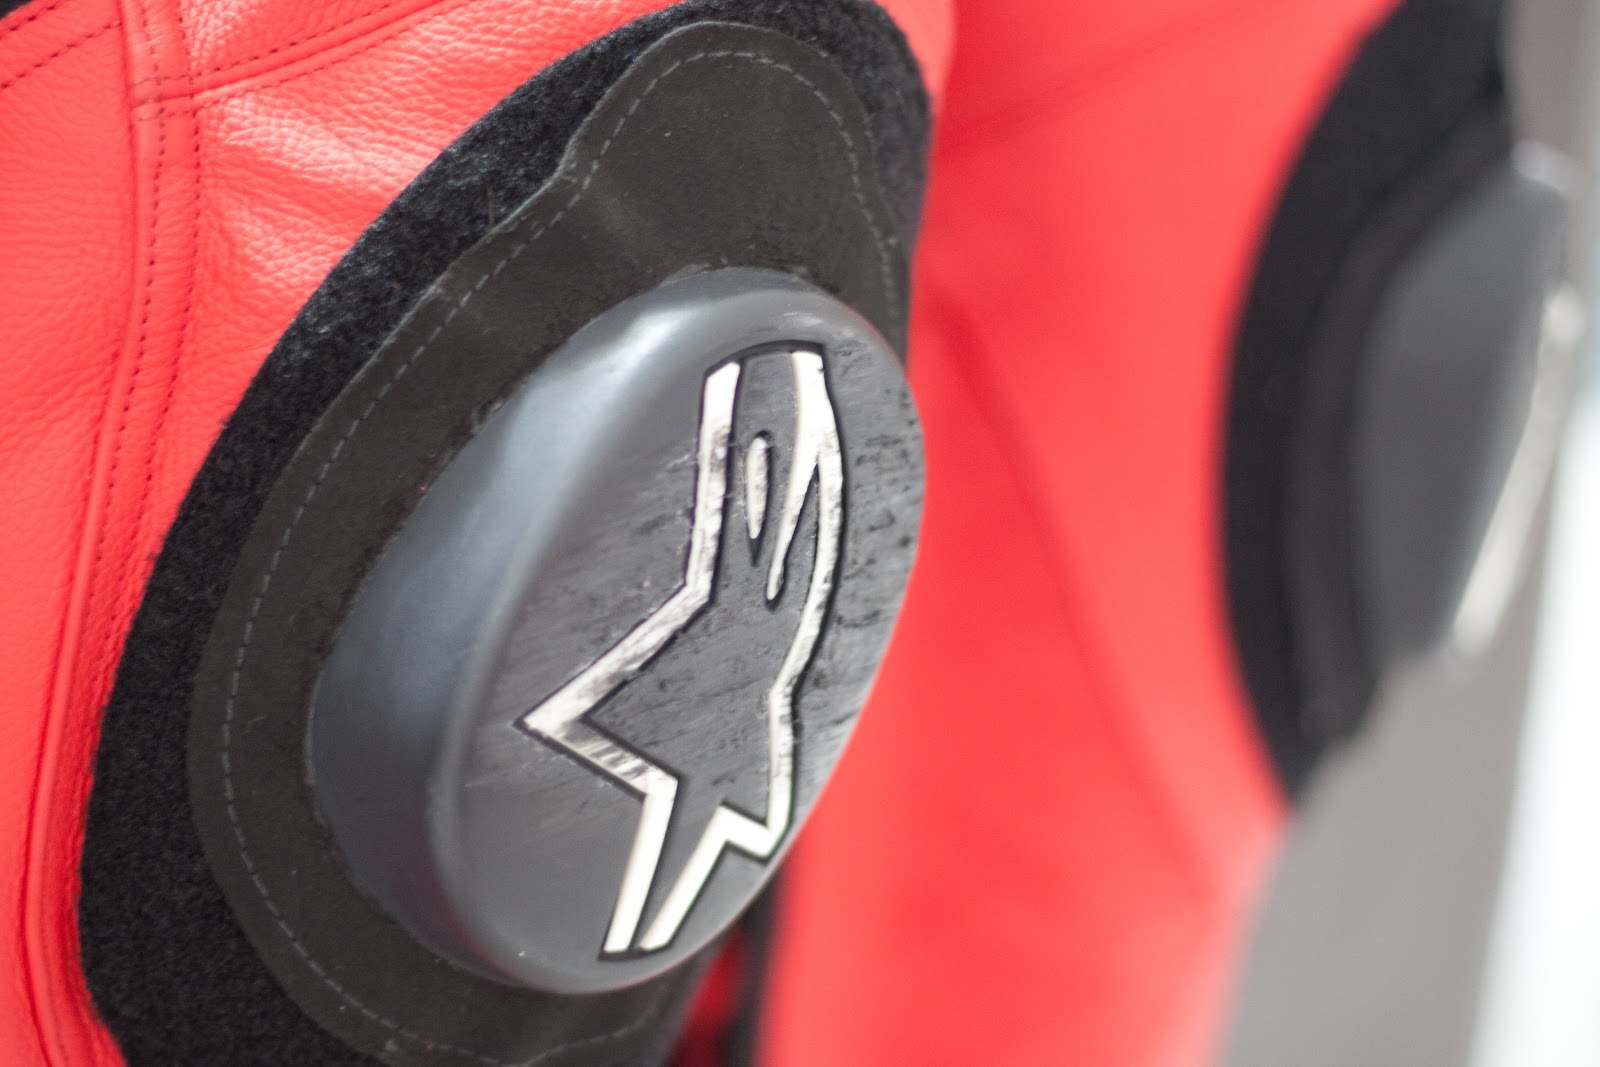
Everyone remembers their first knee down. Today was a day of many firsts, I finally scraped the knee sliders of my Alpinestars Trigger suit. It was just Rafie and I at Johor Circuit today. Our third time to Johor Circuit, and they say 'third time's a charm'. It definitely was the case for me haha.

We left my place at 8.40am, and arrived at Pasir Gudang in just less than 40 minutes. It is a lot faster when we lanesplit as compared to the previous times where we took an hour to get there. With the first session starting at 10.30am, we still had a lot of time to spare. We had our breakfast at the McDonald's nearby before we entered the circuit to have our playtime.

It pays to be there early, no mad rush. And at least, we could get a breather before starting the session. There were only 5 of us today; Rafie's GXSR600, my R6, someone else's (Shah) R6, someone else's (Wan) CB1000R, and a race team's MV Agusta.

Shah and Wan were alone. So we chatted them up, and found out there that like all other track riders, they are friendly people. Everyone's just there to have some fun, and return home safe.

So the session started, and I went at my usual pace. After about the third lap, I started to sweat through my head liner, usual signs before I hit the pits to grab some water. Rested for 10 minutes before heading out again, feeling much more relaxed with my tyres heated up. And there it was, at turn 1, the elusive knee down sensation.

The key to having your knee down is to relax and ride slower. It sounds absurd, but before getting your first knee down, riding faster will not bring you closer to your goal; you will most probably crash out instead. When you relax and focus on hitting your braking, apex and exit markers, everything around you inevitably seems to look slower. That's where you enter riding nirvana, what people describe as 'being in the zone'. That's where you get your knee down.

(Correct body posture plays a huge part in achieving your first knee down safely. Read this post on proper body posture. Body Posture & Positioning)

The sound and feeling of your knee sliders scraping on the tarmac is pretty darn addictive haha. But do remember, that the ultimate goal to having a faster lap time is not dragging your knee in every turn. The knee is just a gauge of your lean angle, that's about it.

Right knee puck

Left knee puck

Both knee pucks

Okay, so I've talked about one first, the other first is my first time entering the gravel trap haha. Got a little too confident after blasting past turn 2, and entered turn 3 without braking enough. Poof! Next thing I knew I was in the gravel trap trying to steer myself away from the tyre wall, and trying hard not to drop the bike. Lady luck was on my side today, and I managed to keep the bike upright. Phew. I returned to the pits to find my balls, before running a few more laps towards the end of the session.

The gravel didn't do any damage to my fairings, so no photos there. More knee slider photos perhaps?

Left knee puck again

Right knee puck again

Apart from knee sliders, I have been scraping my toe sliders since the previous track session. I'm still trying to figure out if it's my posture or my stock rear sets are just not aggressive enough. Anyway, let the photos do the talking.

Right toe sliders

Left toe sliders

Finally, to Wan who offered to lead us back to Singapore. Thank you! We were pretty lost without our GPS.

That's all. Ride safe people.

Sunday, 18 November 2012

Review: BMC Air Filter

Finally found the time to ride to HKL and get some servicing done. This time, I needed to change the engine oil, change the air filter, and change the spark plugs. There is nothing much to talk about engine oil or spark plug changes, so I will be focusing on the air filter. Namely, a BMC air filter. Always wanted to use an aftermarket air filter, and here was my chance.

I arrived at HKL around 11am, and parked my R6 beside this gorgeous Ducati 1198S.

Beside a Ducati 1198S

Waited about 30 seconds before a mechanic came to attend to me. In the meantime, I took a photo of their dyno machine. I was that FAST haha.

HKL's dyno machine

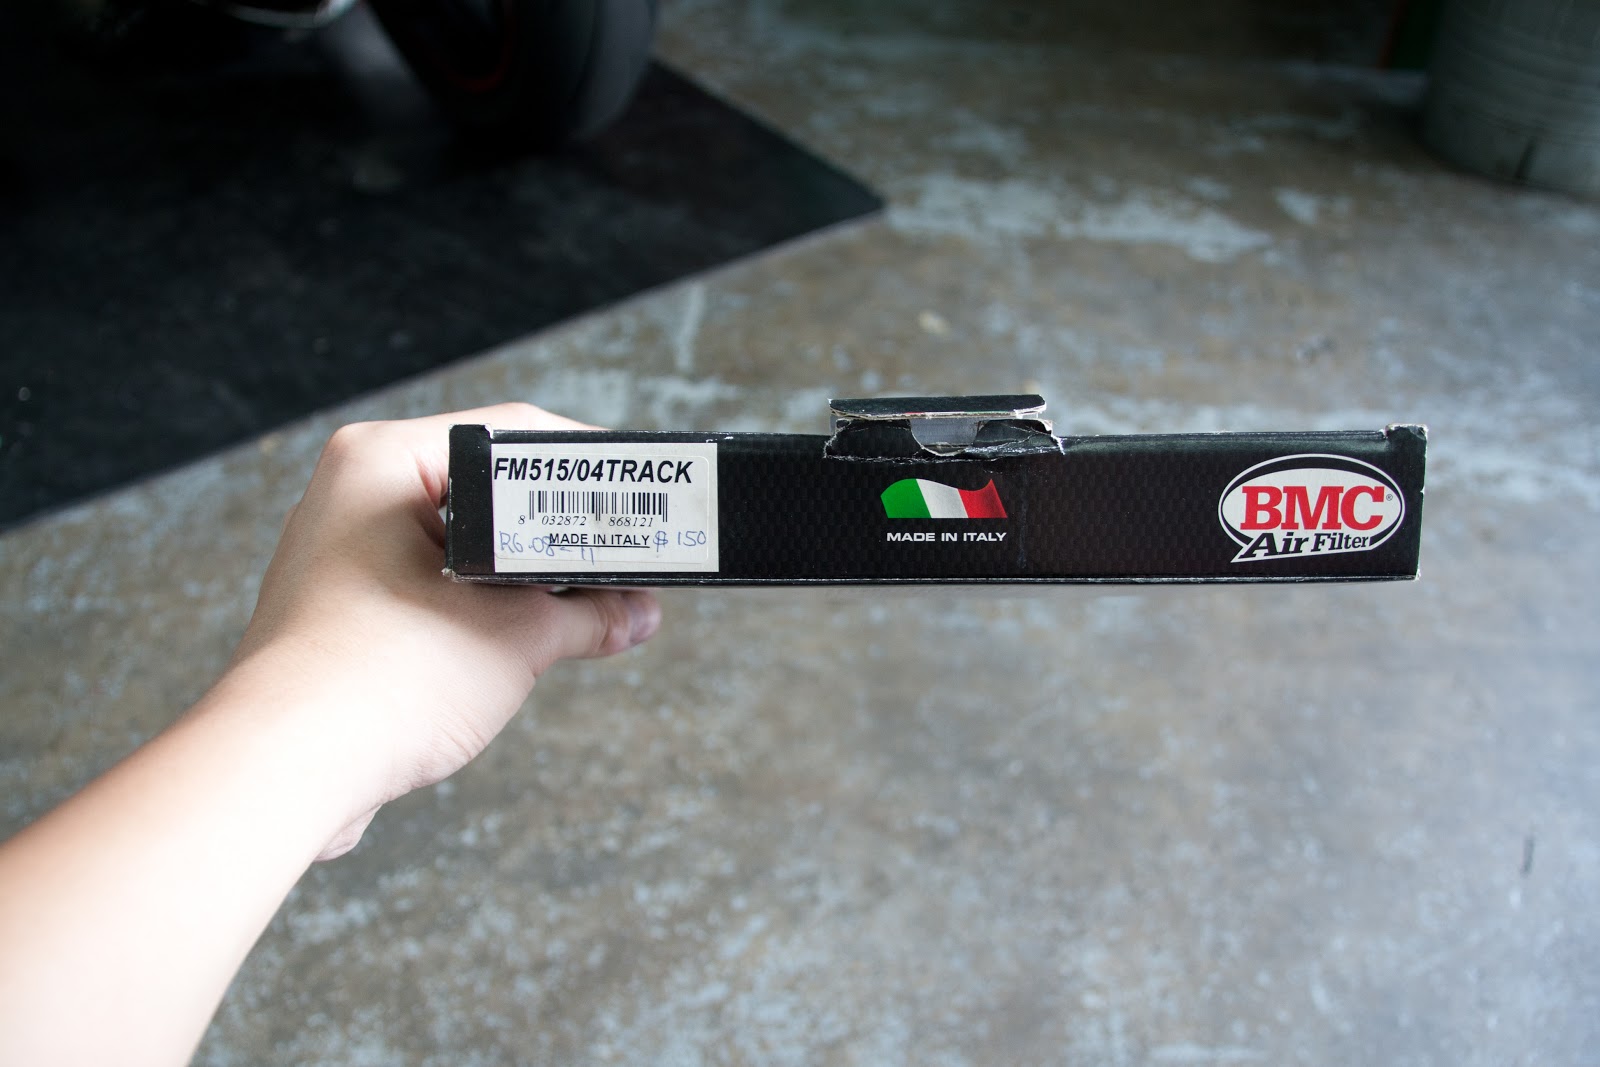
Told the mechanic what I wanted and he presented me with the BMC air filter for my bike. As you can see from one of the photos below, FM515/04TRACK is the part code for my 2011 R6. You can search on BMC's website for the part code for your bike.

BMC air filter

BMC air filter part code

BMC air filter front of box

BMC air filter back of box

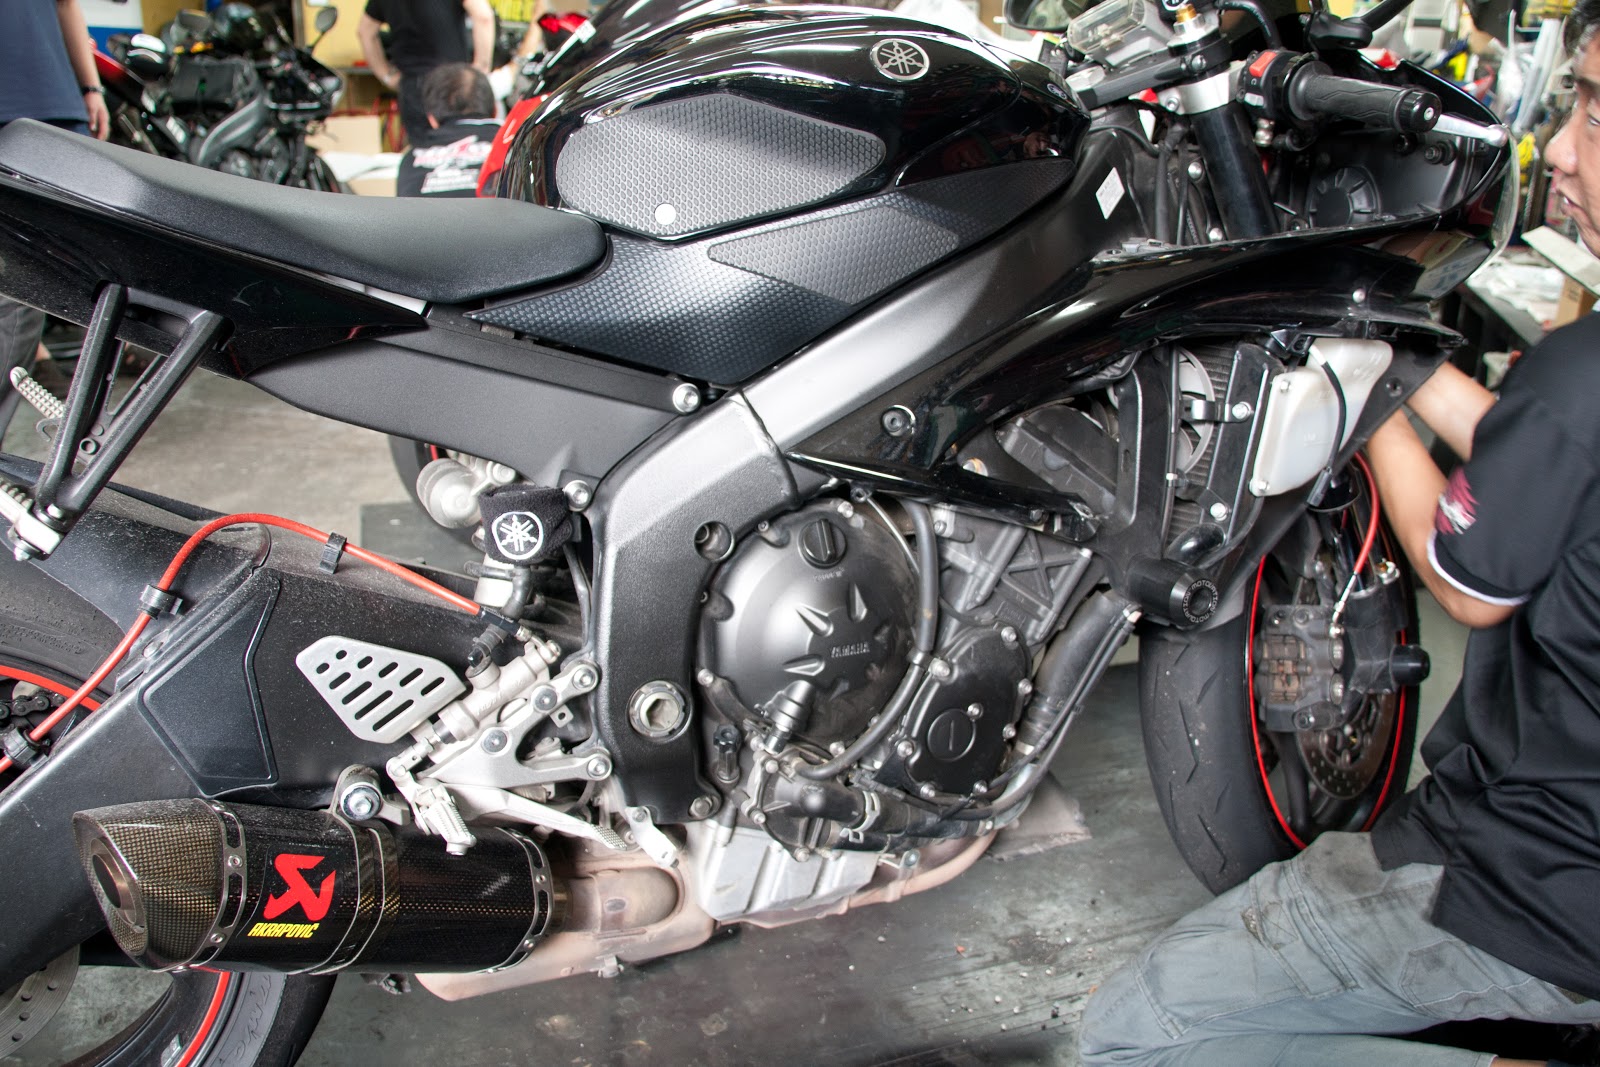
Now, let's get to work! Or rather, the mechanic get to work while I sit down, and take photos haha. He had to strip off both my fairings to be able to access my spark plugs. Pretty labour intensive procedure which he charged SGD$25 for.

Removing the side cowls

Right side cowls removed

Left side cowls removed halfway

Left side cowls removed

Please pardon my dirty bike. It has only been been 5 days since I last washed my bike, no thanks to the rainy weather these days.

If you look at somewhere near the centre of the photo below, you will be able to notice the 4 cables connected to the spark plugs. The photo is a little blur, that was the best focus my lousy camera could manage. Sad.

Spark plugs

Lifted up my fuel tank to reveal the air filter housing. 17 litres worth of petrol sure looks tiny from here.

Tank lifted up

Lo and behold. This is where the BMC air filter will go into.

Where the air filter sits

So, this is how the air filter looks like outside its box haha.

BMC air filter outside of its box

The BMC air filter is washable by the way. On top of that, HKL would honour the 2-year warranty as long as you have the receipt with you.

And here's my stock air filter.

Stock 2011 Yamaha R6 air filter

Stock 2011 Yamaha R6 air filter another view

Looks pretty okay minus the few small leaves that got through. But the R6 owner's manual recommends to replace the air filter, not wash it. Me, being a good owner, followed its advice haha.

With the air filter installed, it was time to install the new spark plugs. 4 DENSO Iridium spark plugs ready to be put to work on a 599cc engine.

DENSO Iridium spark plugs

DENSO Iridium spark plugs another view

Wrapping up with my 1 year old stock spark plugs. Do you know how to read the wear on your spark plugs? I will dedicate a post to answer that soon.

Stock 2011 Yamaha R6 spark plugs

Stock 2011 Yamaha R6 spark plug wear after 1 year

The other end

Total bill added up to SGD$329.

Breakdown:
SGD$66 for 3 bottles of engine oil.
SGD$150 for the BMC air filter.
SGD$88 for 4 spark plugs.
SGD$25 for labour.

You can be sure that I kept this receipt somewhere safe. Don't want to miss out on the 2-year warranty for the BMC air filter! I rode home and noticed a difference in the exhaust note. This is normal when you switch to an aftermarket air filter. There is a new 'hollow sounding' note coming out of my exhaust, and the sound sends a sweet tingling sensation through my body whenever I twist the throttle! Time to talk less and ride more!

Until next time. Ride safe!