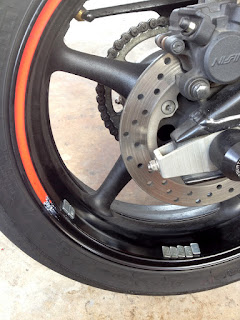
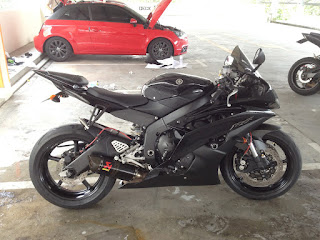
Okay, the story goes like that. I wanted to redo my rim stickers because the last tyre change scratched the sticker on my rear rim. But I didn't want to do it alone, that would just be boring and sad. The opportunity came when Eric decided that he wanted to carbon-fiber wrap the top white panel of his A1.
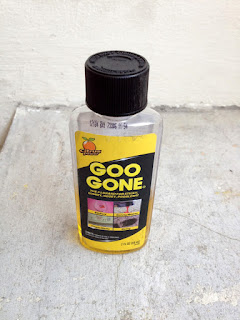
By the way, this is the product I'm talking about.
It cost me about SGD$5 at Home-Fix. Can't remember the exact price but it is quite expensive for a tiny bottle. It will be well worth the money once you see it work its magic.
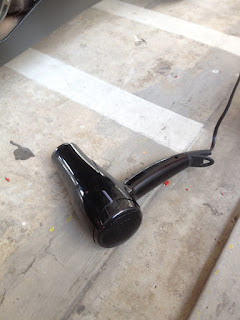
I met Eric at his car park at 9am. To assist me with the job of removing the existing rim stickers, I employed the help of our every day household product, a hair dryer.
Do not use a heat gun, that would be too hot and could potentially harm the paint on your rims.
I hold the hair dryer about 5cm away from the rim sticker, and move it up and down the area I want to peel off. I then used an expired credit card to sort of scrape the rim sticker off. If you're giving it too much effort, then heat up the rim sticker again. It will be soft and easy to scrape off once it's hot enough.
Here's the sticky residue left behind after scraping off a section, yuck!
Next, dab some Goo Gone onto a paper towel or a dry and clean cloth, and wipe it on the residue. Leave it alone for about 1 minute, then attempt to wipe it off with the same cloth.
This is the effect.
As you can see, the residue is not removed completely. Simply dab more Goo Gone onto your cloth and wipe it off again. It should come off perfectly by the second time.
Tada!
If you're a slow poke like me, it will take about 2 hours just to remove the rim stickers on all 4 sides of your rims. About 30 minutes for each side.
I then washed the bike, paying particular attention to the rims, to set it up proper for applying the new rim stickers. A clean bike makes everyone happy.
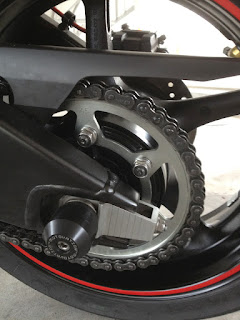
I took extra effort to clean the sprocket, damn it looks like new now haha.
Eric handed me some alcohol to wipe over the rim section that I would be applying the rim stickers on. Sorry, no photos here because I was too psyched to put on the new stickers haha. Bought this rim sticker from G-Max Race at the Frontier building in Ubi.
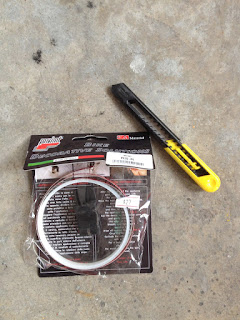
Yes, the price tag is correct. It's a whopping SGD$27, penknife not included. I was told that 1 kit is more than enough for two 17-inch rims. (I actually forgot to take a photo before applying the rim stickers, the photo above actually shows the amount of rim sticker remaining.) The kit also comes with an interesting tool to help you apply the rim sticker, take a look at the video below to see how it works.
Once I was done with the application, I had about the length for a third of one side of a rim, guess the guy at G-Max Race was right, phew.
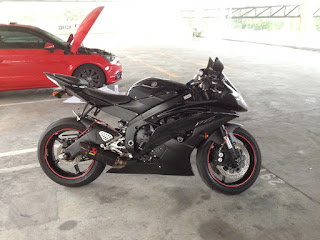
Viola!
Job done at 2pm! Gosh, that sure took long as hell. But nothing beats the satisfaction from a successful DIY job haha.
Some bonus photos below.
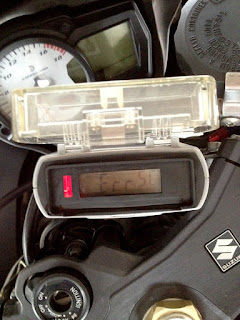
I think Rafie short circuited his ERP IU when he was washing his bike, but according to the LTA ERP IU FAQ, the 'SC' doesn't stand for 'Short Circuit' haha.
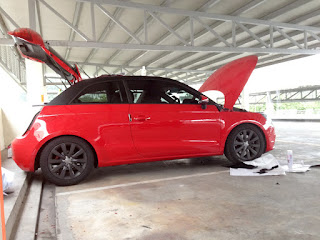
Eric's A1 with the new carbon-fiber top panel. Looking pretty sleek.
Eric helped to patch the hole on Rafie's bike's exhaust with some of his carbon-fiber vinyl. Until today, we still have no idea how the heck he cornered until he scraped his exhaust, tearing open a hole.
That's all I have. I would like to say a big thank you to all my readers. My greatest encouragement comes from your comments, you liking my Facebook Page and following me on my Twitter. Ride safe!





No comments :
Post a Comment