Stay tuned for the next post where I review the trip and upload all the photos. Ride safe!
Monday, 22 October 2012
MotoGP 2012: Sepang Teaser
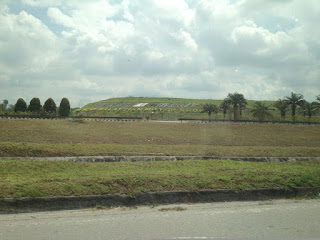
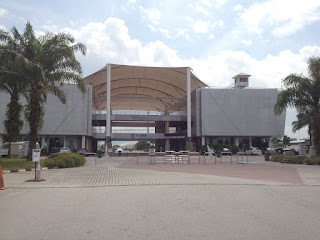
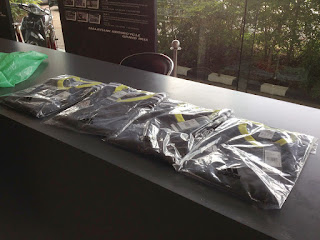
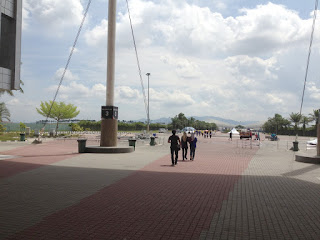
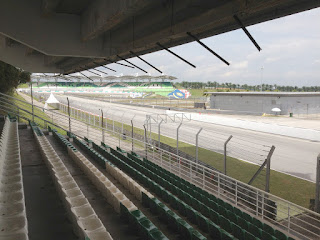
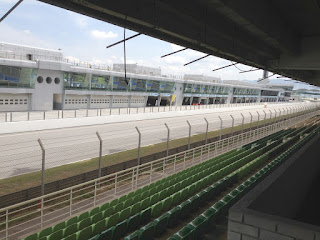
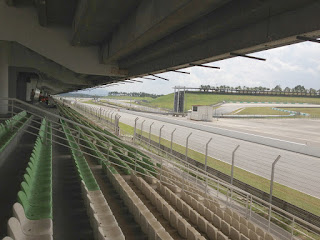
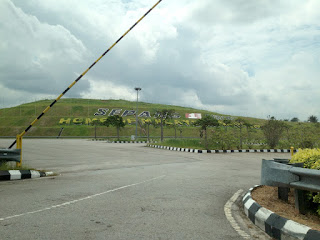
Just back from the Malaysian MotoGP 2012 at Sepang International Circuit! I'm still processing the photos but here are some teaser photos from qualifying. Enjoy!
Stay tuned for the next post where I review the trip and upload all the photos. Ride safe!
Stay tuned for the next post where I review the trip and upload all the photos. Ride safe!
 Tweet
Tweet
Sunday, 14 October 2012
Review: Goo Gone
Ever tried to remove stickers and it left a huge sticky mess after peeling off the label? Try Goo Gone! This was recommended to me by Eric and boy, it's a miracle worker!
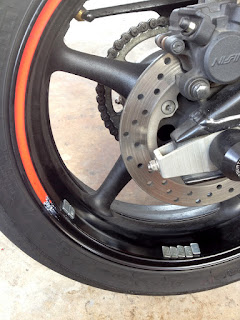
Okay, the story goes like that. I wanted to redo my rim stickers because the last tyre change scratched the sticker on my rear rim. But I didn't want to do it alone, that would just be boring and sad. The opportunity came when Eric decided that he wanted to carbon-fiber wrap the top white panel of his A1.
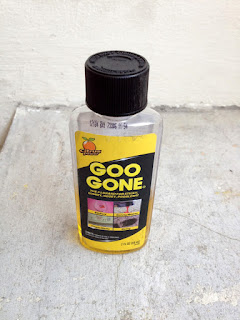
By the way, this is the product I'm talking about.
It cost me about SGD$5 at Home-Fix. Can't remember the exact price but it is quite expensive for a tiny bottle. It will be well worth the money once you see it work its magic.
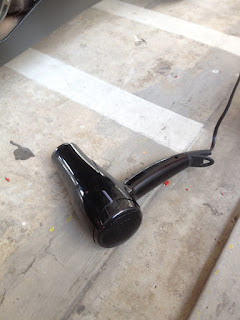
I met Eric at his car park at 9am. To assist me with the job of removing the existing rim stickers, I employed the help of our every day household product, a hair dryer.
Do not use a heat gun, that would be too hot and could potentially harm the paint on your rims.
I hold the hair dryer about 5cm away from the rim sticker, and move it up and down the area I want to peel off. I then used an expired credit card to sort of scrape the rim sticker off. If you're giving it too much effort, then heat up the rim sticker again. It will be soft and easy to scrape off once it's hot enough.
Here's the sticky residue left behind after scraping off a section, yuck!
Next, dab some Goo Gone onto a paper towel or a dry and clean cloth, and wipe it on the residue. Leave it alone for about 1 minute, then attempt to wipe it off with the same cloth.
This is the effect.
As you can see, the residue is not removed completely. Simply dab more Goo Gone onto your cloth and wipe it off again. It should come off perfectly by the second time.
Tada!
If you're a slow poke like me, it will take about 2 hours just to remove the rim stickers on all 4 sides of your rims. About 30 minutes for each side.
I then washed the bike, paying particular attention to the rims, to set it up proper for applying the new rim stickers. A clean bike makes everyone happy.
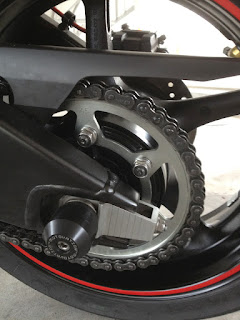
I took extra effort to clean the sprocket, damn it looks like new now haha.
Eric handed me some alcohol to wipe over the rim section that I would be applying the rim stickers on. Sorry, no photos here because I was too psyched to put on the new stickers haha. Bought this rim sticker from G-Max Race at the Frontier building in Ubi.
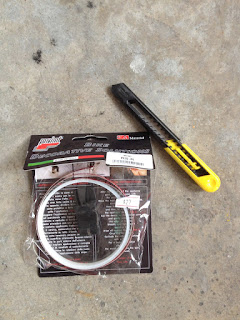
Yes, the price tag is correct. It's a whopping SGD$27, penknife not included. I was told that 1 kit is more than enough for two 17-inch rims. (I actually forgot to take a photo before applying the rim stickers, the photo above actually shows the amount of rim sticker remaining.) The kit also comes with an interesting tool to help you apply the rim sticker, take a look at the video below to see how it works.
Once I was done with the application, I had about the length for a third of one side of a rim, guess the guy at G-Max Race was right, phew.
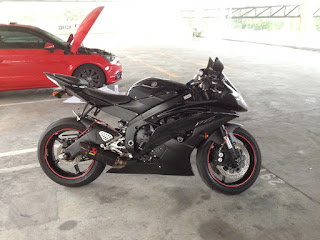
Viola!
Job done at 2pm! Gosh, that sure took long as hell. But nothing beats the satisfaction from a successful DIY job haha.
Some bonus photos below.
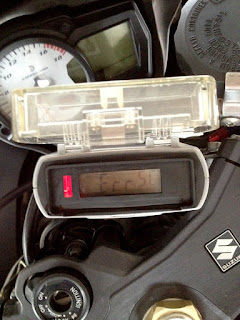
I think Rafie short circuited his ERP IU when he was washing his bike, but according to the LTA ERP IU FAQ, the 'SC' doesn't stand for 'Short Circuit' haha.
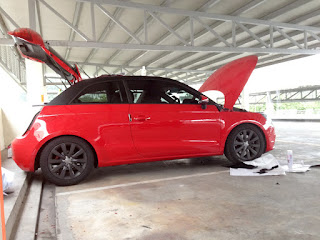
Eric's A1 with the new carbon-fiber top panel. Looking pretty sleek.
Eric helped to patch the hole on Rafie's bike's exhaust with some of his carbon-fiber vinyl. Until today, we still have no idea how the heck he cornered until he scraped his exhaust, tearing open a hole.
That's all I have. I would like to say a big thank you to all my readers. My greatest encouragement comes from your comments, you liking my Facebook Page and following me on my Twitter. Ride safe!
 Tweet
Tweet
Saturday, 13 October 2012
Review: Dainese Air-Frame Jacket
Dropped by JR after work yesterday and discovered this gem of a promotion. JR is currently having a promotion for certain Dainese products to introduce the world of Dainese motorcycle apparels to everyone. One of the products on promotion is the Dainese Air-Frame.
The Dainese Air-Frame is a mesh jacket which is perfect for Singapore's hot as **** weather. At first, I told myself to save my money for a GoPro but after the sales person showed me a black and red Air-Frame, there was no looking back. If you have seen my other photos, my bike has a black and red scheme and so does my track suit. Also, I did not have a every-day riding jacket so I decided what-the-heck-why-not-just-try-it-on.
I'm 1.77m tall and about 78kg. I asked to borrow a back protector from them and with that, a size 50 Air-Frame fits me perfectly. The jacket comes with CE certified shoulder pads and elbow pads with an option for a back protector insert.
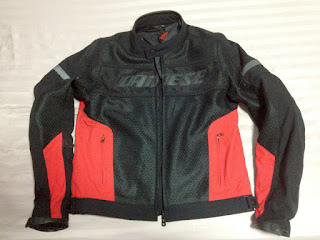
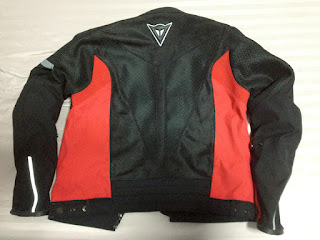
Here's how the jacket looks like.
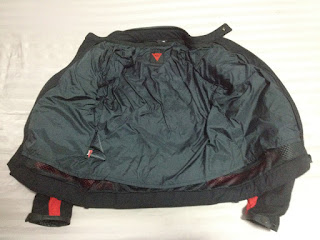
The one thing I like about this jacket is the styling and the fact that it has 2 front pockets and an inner pocket for you to put your wallet, phone and whatever you bring on a ride. The inner pocket is probably big enough to fit a spare 180/60 rear tyre haha. If you frequent Malaysia like me, this jacket is all you need for a late night petrol run, where you just need your wallet, phone and a passport. No more carrying waist pouches like I used to do or sitting on your wallet and passport.
The Air-Frame also comes with an inner wind-breaker, that is attached to the jacket by means of some zips and buttons. It probably takes less than 20 seconds to attach or remove the wind-breaker.
Here's how it looks like with the wind-breaker attached.
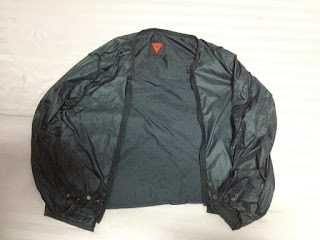
And the wind-breaker itself.
I removed the wind-breaker and leave it at home permanently because I sweat like a ****ing melting snowman. I did try riding home with the wind-breaker attached at 6.30pm. Even with the late evening weather, the wind-breaker stops enough air flow to make me sweat my butt off.
If you're like me, I definitely recommend not using it. But if you're one of the normal people, you can put it into one of pockets and use it when you need it. It should be able to keep you relatively dry when caught in light rain. It's like a condom I guess, better to have it and not need it than need it and not have it.
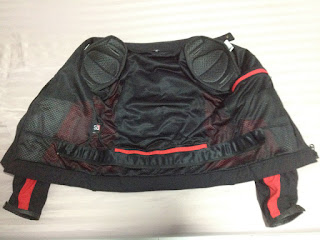
A final photo of the jacket with the wind-breaker removed.
You can see the shoulder pads here. They are proprietary Dainese armour pads. Overall, the jacket allows for a pretty good amount of air flow and its price gives it a lot of bang for the buck. Oh, the price! I forgot to mention.
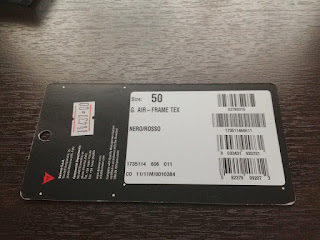
Here's the price tag on the jacket.
And the promotional price is SGD$259! According to the sales person, they have sold hundreds of Air-Frames. Not if its some sales tactic but it is worth the buy! Hurry and get yours now! Just don't get the same black and red one as mine haha.
One final video review from Revzilla before I sign off.
Ride safe!
 Tweet
Tweet
Sunday, 7 October 2012
MotoGP 2012 Gift Collection
Early yesterday morning, Eric and I embarked on a daunting task. Our objective was to drive up to Sepang Circuit, collect our MotoGP gift jerseys, and get back to Singapore before evening. Heck, it wasn't as difficult as I thought, mainly because we drove, and Eric was doing the driving haha.
We left my place at 6.20am, and by the time we cleared the Woodlands Customs Checkpoint, it was already 7am. We took the North-South highway and the plan was to exit at Nilai / Sepang. Traffic was brisk and well, Eric is a fast driver. I'm not going to reveal our average speed but we got within 10km of our exit by 9.30am. You can imagine the highest speed the little Audi A1 achieved during long stretches of clear traffic haha.
During the journey, we only made 1 stop for smokes and the loo. So, naturally, as fully grown male adults, we were hungry as hell. And since we were early, because the gift collection only opens at 10.30am, we had a really long 1 hour breakfast.
After a nice plate of Nasi Lemak Ayam Goreng and a glass of ice coffee, we made our way towards our destination. We knew we were close after 10 minutes of driving when we saw the entrance to the Sepang Circuit pits, but that wasn't for us. We continued further and saw this.
If you see this, where I took this photo, you're very close to the main entrance. But well, I was too focused on getting a nice shot and missed it haha. The main entrance is about 50m further down the road, from the photo. You will be able to see this landmark from pretty far away, so look out for the left filter onto the road leading to the circuit's main entrance.
Finally, we've arrived!
First stop, the customer service counter. Passed the counter officer our gift certificates and got our Adidas MotoGP 2012 jerseys, yay! Rafie, Yi Yang, I don't know your sizes so I got us all mediums haha.
Since we were already there, we took the opportunity to explore the place. Man, it is huge! It takes a while to walk from the entrance to the main grandstand and the scorching sun wasn't helping.
I'm glad we bought main grandstand tickets because the view looks really good. It's very close to the starting positions, as if we could just reach out and touch the riders.
And the back straight.
Weather didn't look too good, so we made our leave. Not before we took a final photo.
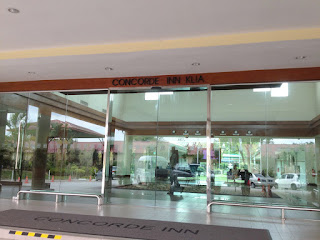
Before going back to Singapore, we wanted to have a look at the hotel we booked for our MotoGP weekend. Concorde Inn Hotel. It was just a 10-minute drive to the hotel, perfect location for MotoGP fans.
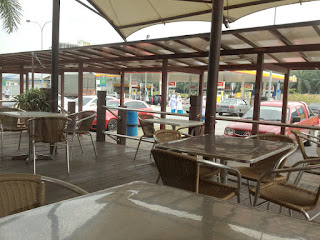
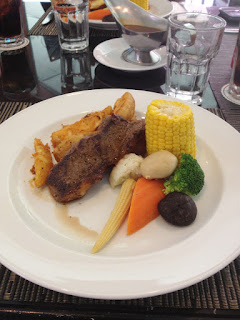
Our hotel package comes with breakfast so we went to take a look at the restaurant. We got hungry again haha. I ordered a tenderloin steak.
It wasn't cheap. 42RM, which is about SGD$17. Very close to Singapore prices, and the portion was pathetic. But hey, it's a hotel restaurant.
We finished our lunch and left the hotel around 1.40pm. Filled up the petrol tank and went back to Singapore. I opened my house door at 4.45pm haha. That night at a friend's birthday BBQ, I told them that I drove up to KL for a steak lunch and drove back, just in time for dinner haha.
2 more weeks to MotoGP week! Can't wait!
Signing off. Ride safe people.
 Tweet
Tweet
Thursday, 4 October 2012
Review: Meguiar's Scratch X 2.0
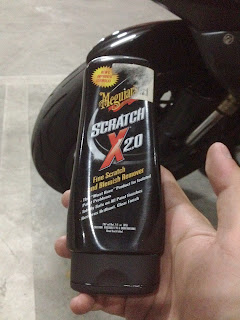
I want to share with you this amazing product! If you recall, Rafie dropped his bike in the gravel trap at Johor Circuit a few days ago. Eric had this small bottle of Meguiar's Scratch X 2.0, it's a scratch and blemish remover; and decided to give it a try before Rafie spends a bomb respraying the fairing.
Here's the product.
This small bottle costs about SGD$20ish and it is definitely worth the price after you see what it did to Rafie's bike! For more dramatic effect, read my previous post and see the scratches on the bike before you proceed any further.
Hold your breath! With a little effort, this is the effect on the head cowl!
So basically, if you stand just 3 feet away, you wouldn't be able to see the scratches! Pretty amazing product, I'm impressed.
Here are the results from the side fairings where the scratches are deeper. But still, it did its job to hide obvious scratches!
So, next time before you pay a bomb to respray your motorcycle, try out this product!
Here's a video from Meguair's.
Short post for an effective product. Ride safe!
Here's the product.
This small bottle costs about SGD$20ish and it is definitely worth the price after you see what it did to Rafie's bike! For more dramatic effect, read my previous post and see the scratches on the bike before you proceed any further.
Hold your breath! With a little effort, this is the effect on the head cowl!
Here are the results from the side fairings where the scratches are deeper. But still, it did its job to hide obvious scratches!
So, next time before you pay a bomb to respray your motorcycle, try out this product!
Here's a video from Meguair's.
Short post for an effective product. Ride safe!
 Tweet
Tweet
Subscribe to:
Posts
(
Atom
)


